Generation 🏕️
Generation is all about dynamically making shapes and putting them onto the screen. You know, like lines, spirals, and hearts. Geometry type stuff (no proofs required here, though)!
Lines
Put lines onto the screen. I like this effect because you can make it so a bunch of lines appear and cover up the screen as a sort of transition.
- Style: Which way the lines are drawn.
- Horizontal: Lines are drawn horizontally across the screen.
- Vertical: Lines are drawn vertically across the screen.
- Amount: How many lines are drawn on the screen at once.
- Size: How thick the lines are.
- Apply:
0means the lines are multiplied onto the screen,1means that the lines are overlayed onto the screen. - Rainbow: Make each line a unique colour.
- Colour: Make the lines all a specific colour if not using
Rainbow. - Seed: The seed that determines how the lines are randomly laid out.
Ring Colours
Puts a bunch of rings on the screen originating from the centre.
- Opacity: How transparent the rings are.
- Rings: How many rings are drawn - a higher value (such as the max at
100) will make the rings look way more smooth, but less distinguishable. - Apply:
0means the rings are multiplied onto the screen,1means that the rings are overlayed onto the screen. - Speed: How fast the colours move through the rings. Set it to
0if you don't want the colours to shift (or shift on their own). - Style: In what order the rings should be coloured. If you are using a single colour, the alpha will shift instead of the colour (which is only really noticable if you set Apply to
0).- Inwards: For the style
Single, this will make the centre more transparent. ForGradient, this makesColour Onethe centre andColour Twothe outside. - Outwards: For the style
Single, this will make the centre more opaque. ForGradient, this makesColour Onethe outside andColour Twothe centre. - Random: Randomly distribute colours for
Gradientand alphas forSingle.
- Inwards: For the style
- Colouring: Determines if the rings should use a single colour, two colours, or each ring is a random colour (
Rainbow).
Noise Colours
Apply various noise patterns (random numbers) to the screen.
- Style: The pattern of noise to use.
- Cloudy: Perlin noise, a pretty standard noise (like what you may see in photo editing software).
- Foggy: Simplex noise, similar to Cloudy but more blurry and less defined lines.
- Turbulance (Fast/Fancy): Fractal Brownian Motion noise, the most clear and defined noise. The
Fastversion is technically not as high quality but cheaper to compute, although in all realities, you probably won't notice the difference. - Voronoi: Voronoi noise, a type of noise that is made up of a bunch of random dots. The dots are connected to the closest point, and the distance between the points is used to determine the colour of each "blob".
- Opacity: How transparent the noise is.
- Apply:
0means the noise is multiplied onto the screen,1means that the noise is overlayed onto the screen. - Scale: How big the noise pattern is. Smaller values = less detail.
- Speed: If you want the noise pattern to move, set this to a value other than
0. A negative value will move the nosie left while a positive value will move it right. - Rainbow: Use the noise pattern to colour the screen rainbow.
- Colour Low, Colour High: Noise generates values between 0 and 1. Values on the screen closer to
0lean more towardsColour Lowwhile vlaues on the screen closer to1lean more towardsColour High. If you are usingRainbow, these colours will be ignored. - Seed: The seed that determines how the noise is generated. Changing this will change the pattern of noise (it can also be animated).
SDF Colours
Putting more advanced shapes and patterns on the screen. This one is requires a bit of play to get it exactly right, as the values for one shape may look completely different for another shape.
- Style: The shape to draw.
- Moon: A crescent moon shape.
- Heart: A heart shape.
- X: An X shape.
- Star: A star shape.
- Repeat: How many times the shape should be repeated from the centre.
- Controls X, Y, and Z: Controls the size of the shapes on each scale. Z is not used for all shapes.
- Position X, Position Y: The position of the shape on the screen. Naturally, X will move it left and right while Y will move it up and down.
- Angle: Rotate the shape if not set to
0. - Apply:
0means the shape is multiplied onto the screen,1means that the shape is overlayed onto the screen. - Colour: The colour of the shape.
Shapes Colours
These are simple shapes! Think square and circle..
- Style: The shape to draw.
- Circle: A circle.
- Rectangle: A rectangle.
- Round Rectangle: A rectangle with rounded corners.
- Polygon: Arbitrary polygon with a set number of sides (for an example, a hexagon would have
6sides and a triangle would have3sides).
- Size X, Size Y: The size of the shape on each scale.
- Shift X, Shift Y: The position of the shape on the screen. X will move it left and right while Y will move it up and down.
- Angle: Rotate the shape if not set to
0. - Sides: The number of sides for the
Polygonstyle. This is not used for the other shapes. - Colour: The colour of the shape.
Shapes UVs
This is the same as Shapes Colours, but instead of overlaying a colour onto the screen, it shifts the UV coordinates of the screen. All settings are the same except for Power X and Power Y, which are unique to Shapes UVs and control how much the UV coordinates are shifted.
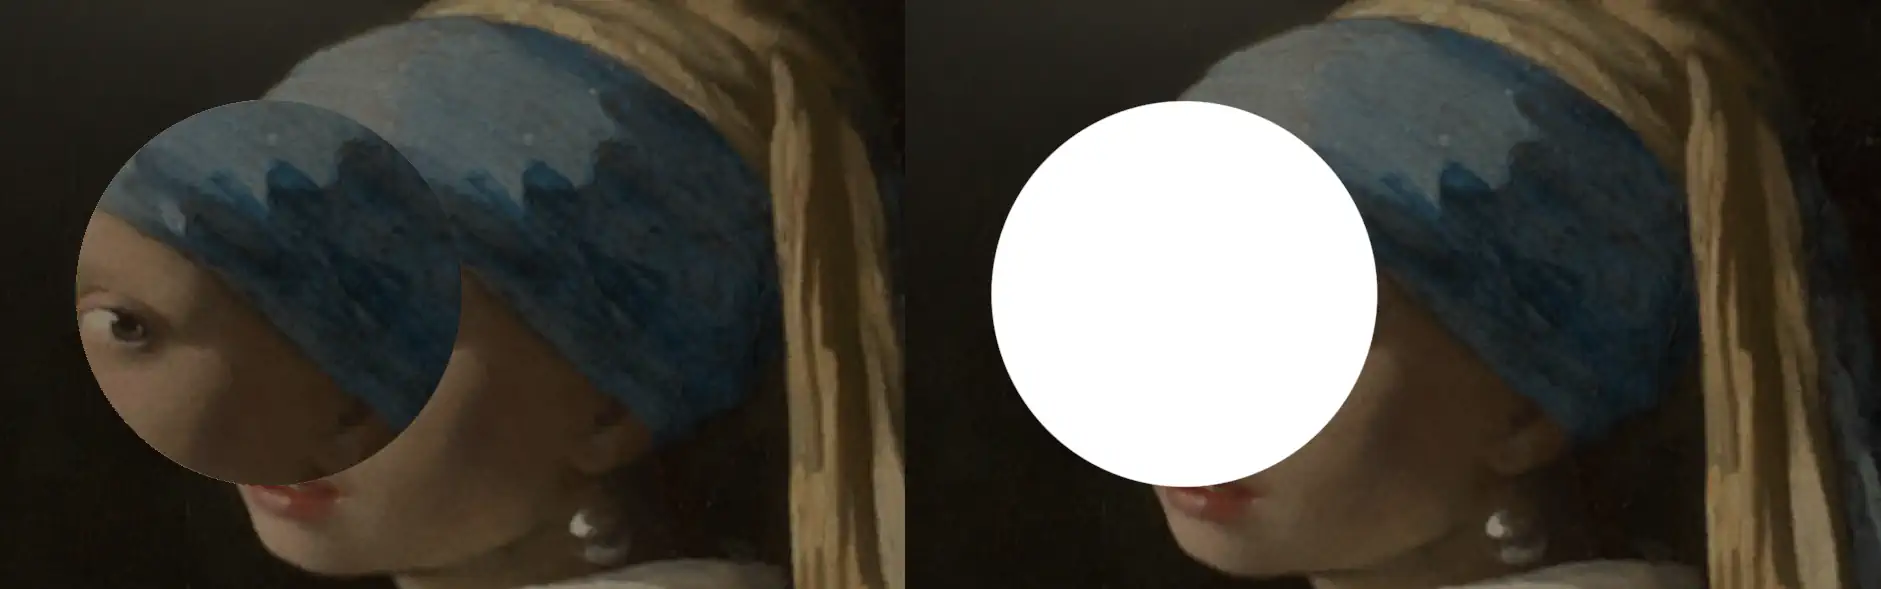
Comparison Between Shapes UVs/Colours
Spiral Colours
Puts a spiral on the screen (swirly thingy)!
- Style: Which algorithm to use to draw the spiral.
- Atan2: Larger and smoother.
- Logarithmic: Smaller and more defined.
- Scale: How many times the spiral is repeated.
- Speed: How fast the spiral moves. A negative value will move the spiral left while a positive value will move it right.
- Apply:
0means the spiral is multiplied onto the screen,1means that the spiral is overlayed onto the screen. - Colour One, Colour Two: The colours of the spiral.
Colour Oneis the background whileColour Twois the spiral itself.
Spiral UVs
The difference between Spiral Colours and Spiral UVs is the same as the difference between Shape Colours and Shape UVs - so please see above!
Hearts
This is a section dedicated to hearts! Unlike SDF Shapes, it is much more smooth, clean, and customisable because I just love hearts so much that I wanted to do more with them.
- Style: How the hearts are drawn on the screen.
- Overlay: The hearts are drawn on top of the screen.
- Multiply: The hearts are multiplied onto the screen.
- Alternate: An alternating pattern between overlayed heart - screen - overlayed heart - screen, and so on.
- Opacity: How transparent the hearts are.
- X Offset, Y Offset: The position of the hearts on the screen. X will move it left and right while Y will move it up and down.
- Speed: How fast the hearts move. A negative value will move the hearts inwards while a positive value will move them outwards.
- Scale: How big the hearts are (and how many are drawn).
- Colour One, Colour Two: The colours of the hearts. For
OverlayandMultiply,Colour OneandColour Twoalternate. ForAlternate, mostly onlyColour Twois seen.
Hearts Overlay Preview
