Border 📼
Cinematic frames around the screen.
Styles
Styles control the shape of the border.
- Vertical Letterboxing: Bars appear across the top and bottom of the screen.
- Horizontal Letterboxing: Bars appear across the left and right of the screen.
- Box: Bars appear on every side of the screen.
- Circular: A circle appears around the edge of the screen.
- Polygon: A shape with an arbitrary amount of sides appears around the edge of the screen.
- Eye: Similar to Vertical Letterboxing, but
Power Rightcontrols the roundness towards the center of the screen (mimicking the shape of seeing through an eye). - Anime: Random pinwheel-shaped lines appearing towards the center of the screen (you'll get the name once you see it in action).
Power Rightcontrols how many lines are present andPower Leftcontrols the speed of the lines. - Map: Use a texture to create the border effect.
Border Colour
Chose between using an RGBA colour for the border or an animated rainbow. For more information on rainbow settings, please see Recurring Settings ♻️ -> Rainbow.
Power
Power controls how much of the border takes up the screen (for example, with something like Vertical Letterboxing, a Power of 1 means no bars are present and a Power of 0 means that the bars take up the whole screen).
You can also control the powers of each side (if it applies to the current style) individually, such as with Power Top or Power Right. Only use this if you don't want all sides of your border to be at the same strength or move at the same time.
The power controls are mostly reversed here. 1 means that the bars are not present and 0 means that the bars are fully present. It's backwards like that for math reasons and I figured I'd rather have a slightly more confusing effect than add extra math onto the GPU's workload... (although it wouldn't be a huge impact so if you think that would be better feel free to let me know)
Edge
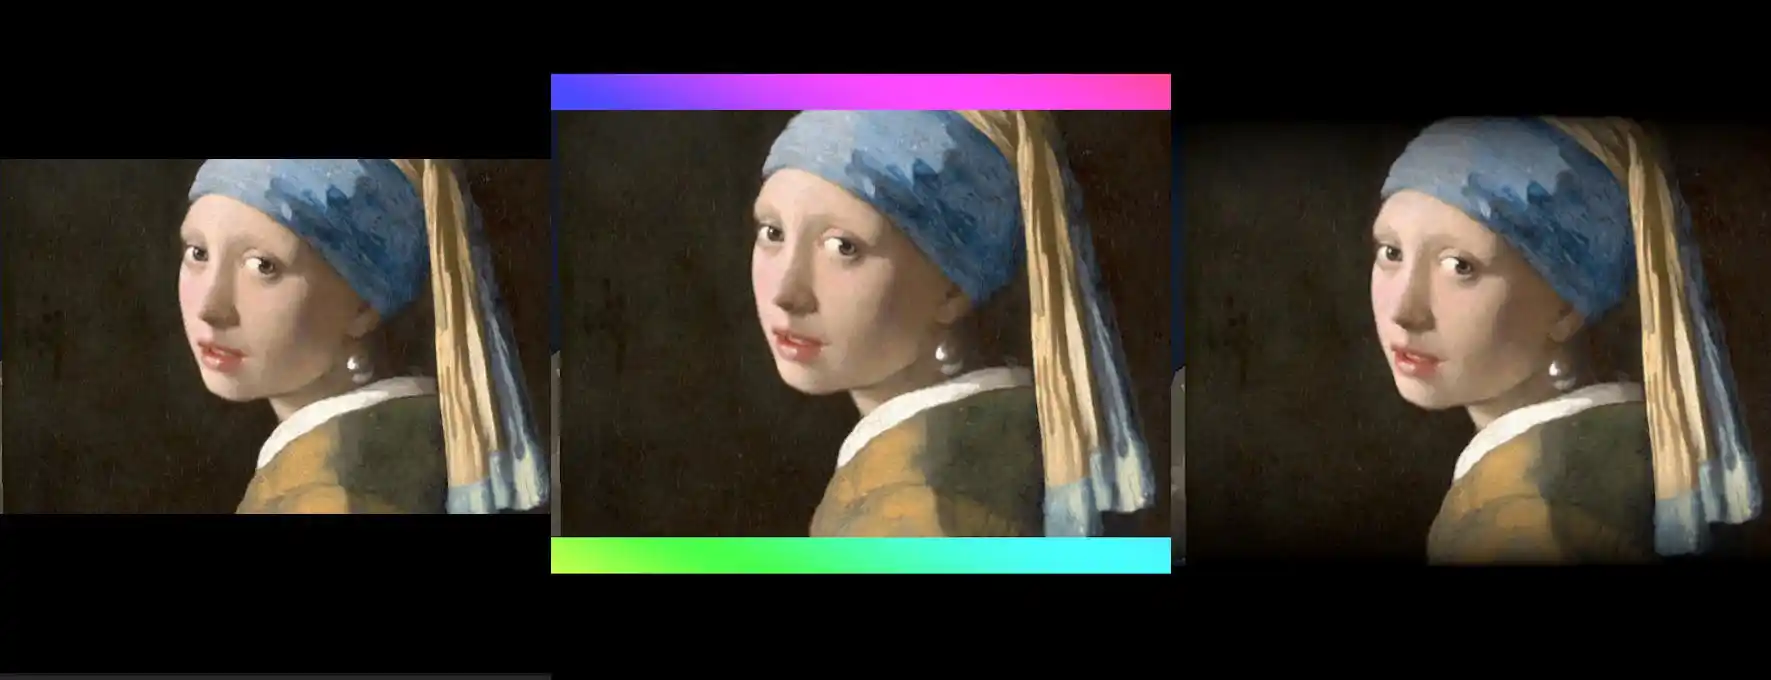
With Edge, you can add extra padding on to each side of the border. In this edge, you can set a different colour than the primary border.
You can also make the newly created edge smoothly fade out with Soften. See the reference image below - from left to right, a border with no edge, a border with a rainbow edge, and a border with a softened edge.
Angle
This simply rotates the position of the border (think like spinning it).
Apply
Here you can choose between Border Colour and Use Overlay Image. Border Colour will use all of your settings above for how it will look, while Use Overlay Image will apply the overlay image from the Overlay effect onto the border only (and not the screen).